Contents
Adding the Controls
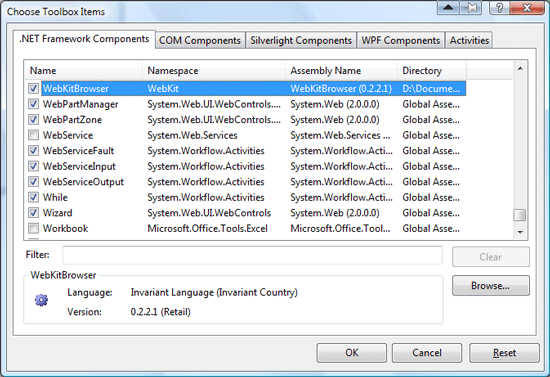
With the project created, you should be presented with a blank 'Form1' in the Windows Forms designer. To use the control in the designer, right click the toolbox and select Choose Items -> .NET Framework Components. Click 'Browse...', navigate to the WebKit .NET directory and select WebKitBrowser.dll. The WebKitBrowser control should appear in the list as below:
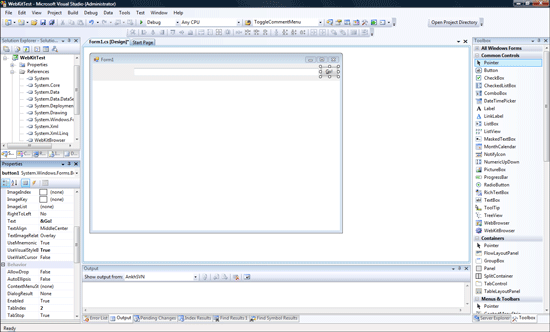
Make sure the checkbox is ticked and click OK. Select the WebKitBrowser in the toolbox and drag it onto the empty form. In the properties window, change the 'Dock' property to 'Bottom' and resize the control leaving enough room at the top of the form for a navigation bar.
Select a TextBox from the toolbox and drag it onto the top of the form, moving and resizing to suit. Do the same with a Button control. Change the 'Text' property of the button to '&Go!'

